

Warped Wall Technique for a Stronger Climb
A warped wall does not reward hesitation. You get one fast run, a split-second foot plant, and a powerful reach before gravity takes over. The warped wall technique is less about having superhero strength and more about connecting speed, timing, and confidence into one committed movement.
That is good news for first-timers, kids, teens, and adults who have stared at the wall thinking, “There is no way.” Every successful climb starts with a learnable pattern. Build that pattern safely, practice it consistently, and the wall that once stopped you can become one of the most satisfying obstacles in the gym.
What Makes the Warped Wall So Challenging?
The shape is the challenge. Unlike a flat wall, a warped wall curves from a lower, more forgiving angle into a steep upper section. Your legs can drive you up the bottom, but as the curve rises, your forward speed begins to disappear. By the time you reach the top, your body needs to be close enough and high enough for your hands to grab the ledge.
That means a strong jump alone is not enough. A fast sprint without control is not enough either. The climb works when you turn your approach speed into upward movement, hit the wall in the right place, and reach at exactly the right moment.
Height matters, too. A smaller athlete may need a sharper, more efficient movement. A taller athlete may have a reach advantage but still lose momentum by overstriding or leaning too far back. There is no single magic stride count for everyone. There is a reliable sequence, then room to adjust it to your body.
The Warped Wall Technique, Step by Step
Start with a repeatable approach
Pick a starting point that gives you enough room to build speed without forcing a wild sprint. For many athletes, that means roughly five to eight controlled steps. The goal is acceleration, not panic. You should arrive at the wall fast enough to carry momentum upward while still feeling balanced and in control.
Use the same start point for several attempts. This teaches your body where to place each step and makes it easier to notice what changed when an attempt goes well. If you move your starting point every run, you are guessing instead of training.
Keep your eyes up as you approach. Looking down at your feet often causes your chest to collapse and your final steps to get choppy. You do not need to stare at the top ledge the entire time, but you should know where you are headed.
Use the wall as your final stride
Your last foot plant is the moment that makes or breaks the run. Think of it as a big, powerful step onto the wall, not a jump into it. Place your strongest, most comfortable drive foot on the lower curved section with the ball of your foot making contact. Your toes should point mostly upward, not sideways.
Planting too low can leave you far from the ledge. Planting too high can kill your speed before you have converted it into lift. Start with a low-to-mid placement, then adjust gradually as your timing improves. A coach can help you find the spot that fits your stride and wall height.
As your foot hits, drive your knee upward and push hard through the planted leg. Your body should travel up the curve, not crash into it. Keep your chest proud enough to reach, but do not throw yourself backward. The best runs feel like a fast, upward step followed by a reach.
Reach late, high, and with purpose
A common mistake is reaching for the ledge too early. When your arms stretch up before your body has climbed, your shoulders open, your hips fall away from the wall, and you lose height.
Instead, let your legs do their work first. Drive up the curve, then extend both arms near the top of your rise. Reach for the ledge with your hands ready to grip, not just tap. If your fingertips barely brush the edge, that is useful feedback: you are close, and a cleaner foot plant or stronger arm drive may be all you need.
When you catch the ledge, pull your chest toward it. Keep your elbows active and bring one knee or foot upward if the wall setup allows. The grab is not the finish line. It is the transition from running power to upper-body control.
Finish the climb without rushing
Once both hands are secure, pause for a fraction of a second and make the top-out deliberate. Press down through your hands, bring your chest over the ledge, and shift your weight forward. Avoid swinging wildly or trying to muscle over with straight arms alone.
The top-out asks for grip, pulling strength, and body awareness. If you can grab the ledge but cannot get over, train that phase separately on a lower wall or platform. Partial progress is still progress. First you touch it. Then you grab it. Then you hold it. Then you own the climb.
Four Mistakes That Steal Your Height
Most missed attempts are not caused by a lack of effort. They come from small timing errors that cost inches when inches matter.
Starting too close or too far away: Too close means no speed. Too far can turn your approach into an uncontrolled sprint. Choose a start point and adjust it one step at a time.
Taking tiny final steps: Short, hesitant steps make it hard to create a powerful wall plant. Build speed through the approach and commit to the final stride.
Jumping away from the wall: If your body flies backward, your hands will be farther from the ledge. Drive up the curve and stay connected to the wall’s shape.
Trying to pull before you have the grip: A weak or rushed catch wastes your momentum. Reach with both hands, secure the ledge, then pull and press through the top-out.
Do not try to fix everything in one run. Pick one adjustment, make a few controlled attempts, and notice the result. That is how confidence becomes technique instead of luck.
Build the Strength Behind the Climb
The warped wall rewards full-body athleticism. Sprinting power gets you moving, a single-leg drive pushes you up the curve, core control keeps your body close, and grip plus pulling strength help you finish.
Practice short accelerations, broad jumps, box step-ups, and split squats to improve the lower-body drive. Dead hangs, assisted pull-ups, rows, and hanging knee raises build the control needed at the top. You do not have to train like a bodybuilder to improve on the wall. Train movements that resemble the obstacle, and the payoff carries over.
Mobility helps, too. Tight ankles can make it harder to plant your foot cleanly on the curve, while limited shoulder range can shorten your reach. A few minutes of ankle mobility, hip movement, and shoulder warm-up before wall practice can make your attempts feel smoother.
Practice Smart and Stay Safe
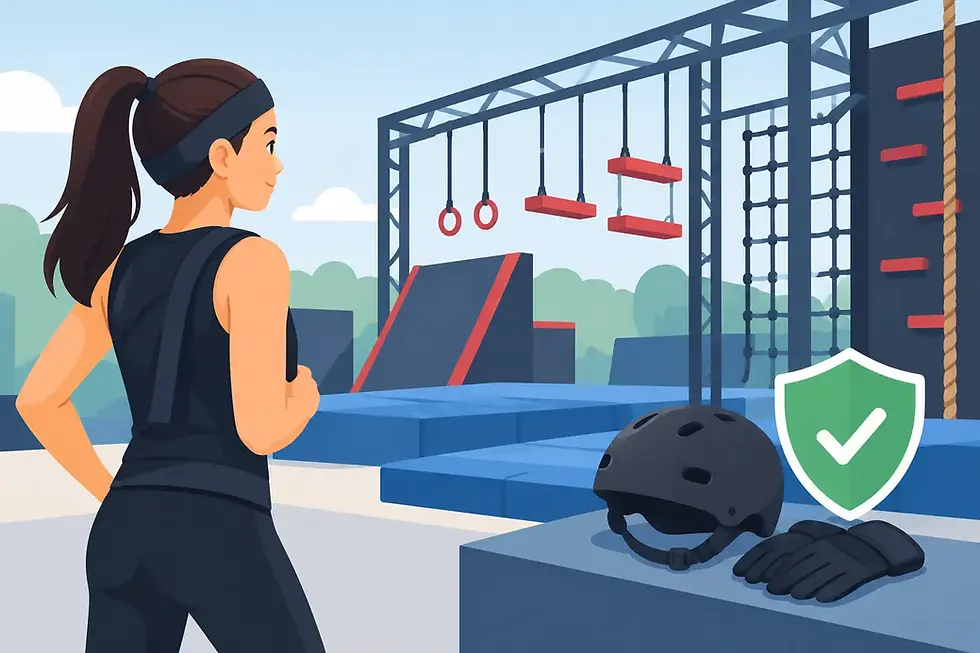
A warped wall is exciting because it asks you to commit, but smart progression is part of being a Ninja. Start on a smaller wall or a lower training variation before moving to a taller version. Use proper landing mats, listen to gym rules, and work with a trained coach when you are learning the movement.
Do not keep taking maximum-effort attempts when fatigue changes your form. Sloppy speed and tired grip can turn a productive session into a bad fall. Rest between hard runs, especially when practicing a new foot plant or top-out. Quality attempts teach more than ten frustrated ones.
At Go Ninja, the best wall sessions are not about proving you can do it on the first try. They are about showing up, taking the next smart challenge, and realizing your body is capable of more than you thought.
The wall will always look steep from the floor. Take your mark anyway. Build your speed, plant with purpose, reach high, and let each attempt teach you how close you are to getting up and over.


Comments